
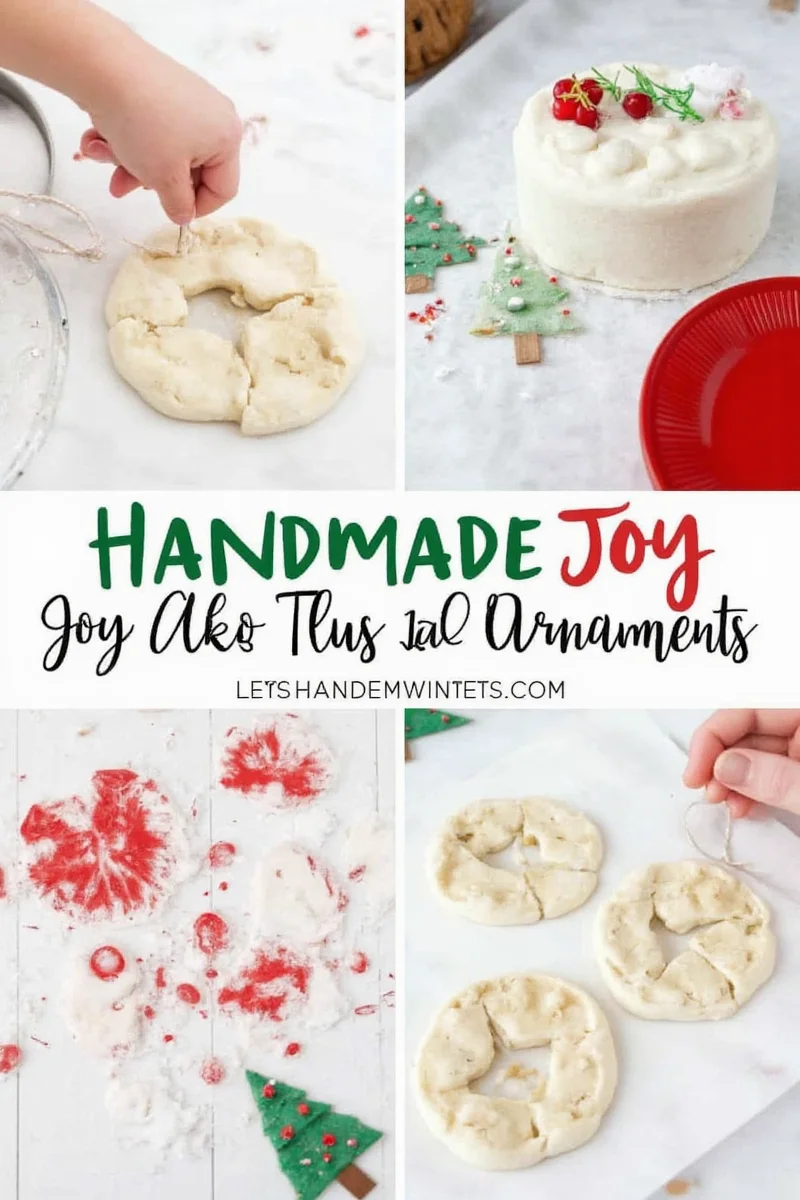
Handmade Joy: 10 Tips for Crafting Adorable Salt Dough Handprint Christmas Ornaments
Table of Contents
- Why Salt Dough Handprint Ornaments Are a Holiday Must-Try
- Essential Materials You’ll Need
- Top 10 Tips for Perfect Salt Dough Handprint Ornaments
- How to Personalize Your Ornaments
- Creative Display Ideas for Your Family Creations
- Buying Guide: What to Look for in Ready-Made Kits
- Final Thoughts: Creating Memories That Last
Why Salt Dough Handprint Ornaments Are a Holiday Must-Try
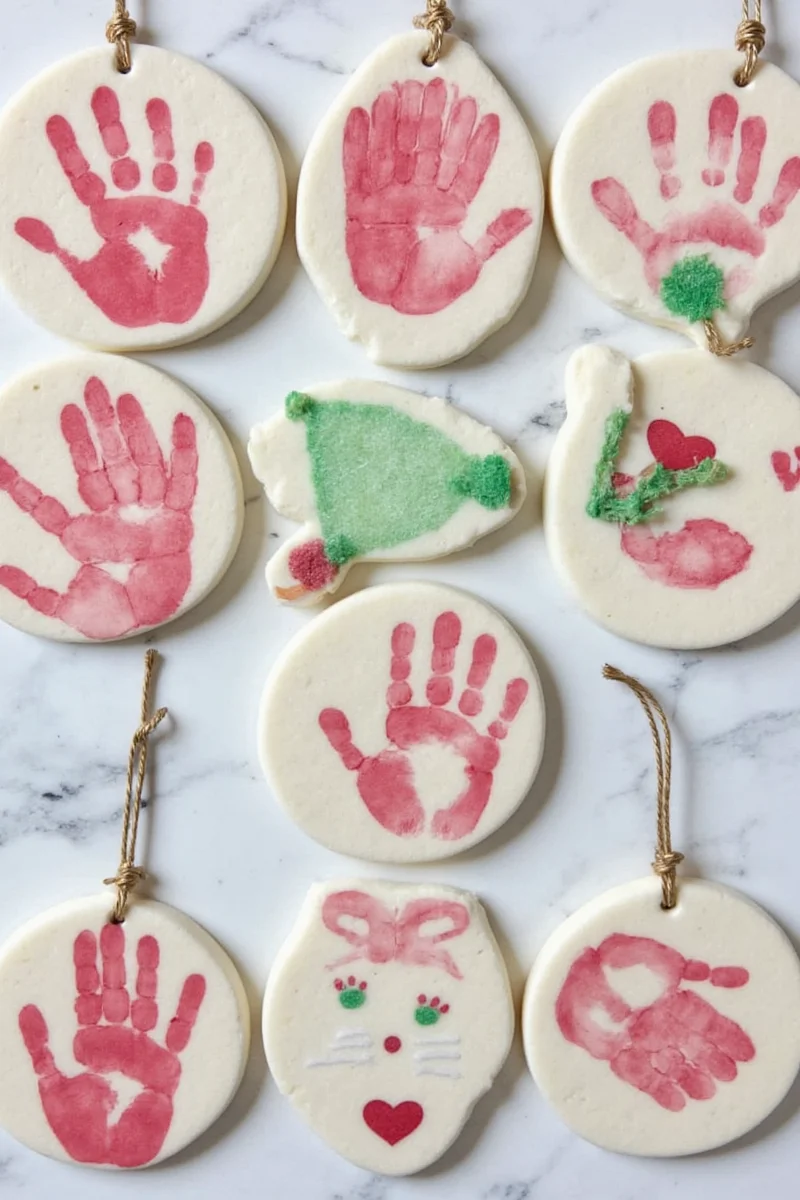
When it comes to crafting holiday memories, few things beat the charm of salt dough handprint Christmas ornaments. These sweet keepsakes are not only easy to make but also incredibly personal. Whether you're crafting with toddlers or older kids, these ornaments become cherished mementos that tell your family’s story year after year.
Essential Materials You’ll Need
Before diving into the creative process, here's what you should gather:
- All-purpose flour (2 cups)
- Salt (1 cup)
- Water (1 cup)
- Mixing bowl and spoon
- Rolling pin
- Circular cookie cutters or ornament-shaped molds
- Popsicle sticks or small skewers (for making holes)
- Acrylic paints, markers, or food coloring
- Ribbon or twine for hanging
Top 10 Tips for Perfect Salt Dough Handprint Ornaments
- Keep It Simple: Don’t overcomplicate the recipe—it’s just flour, water, and salt!
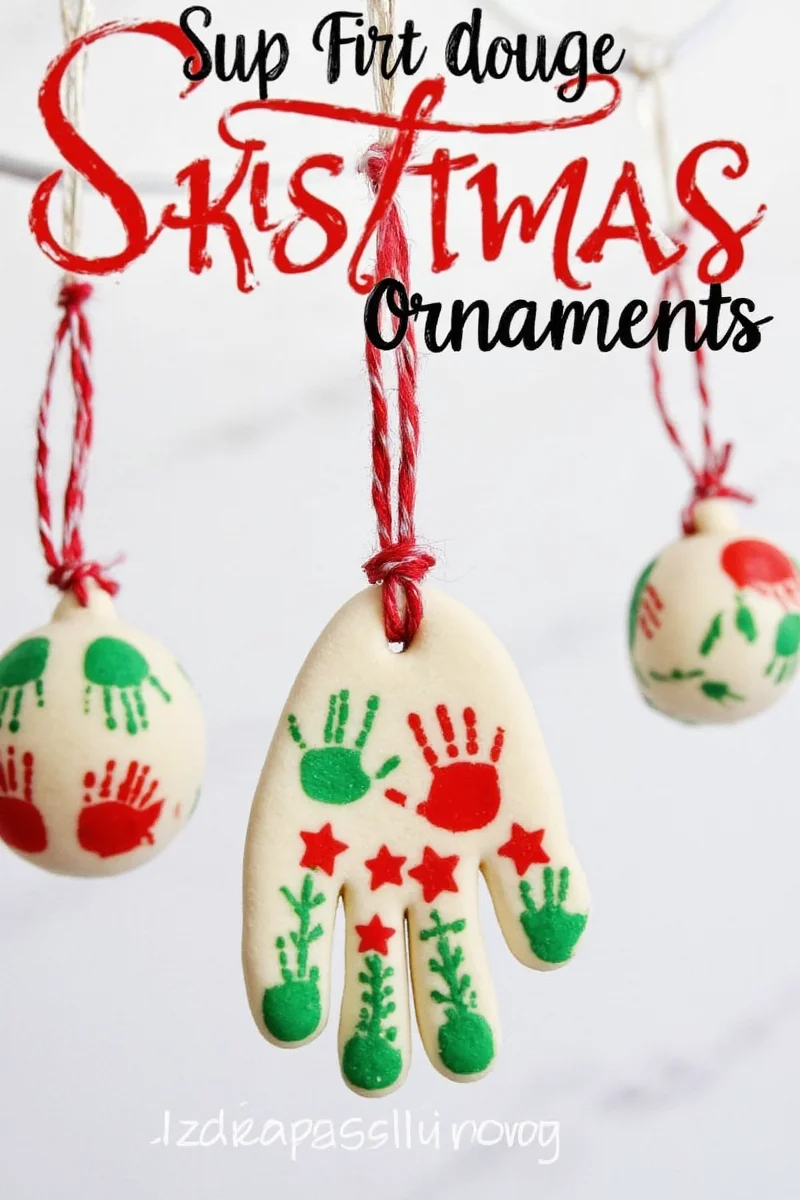
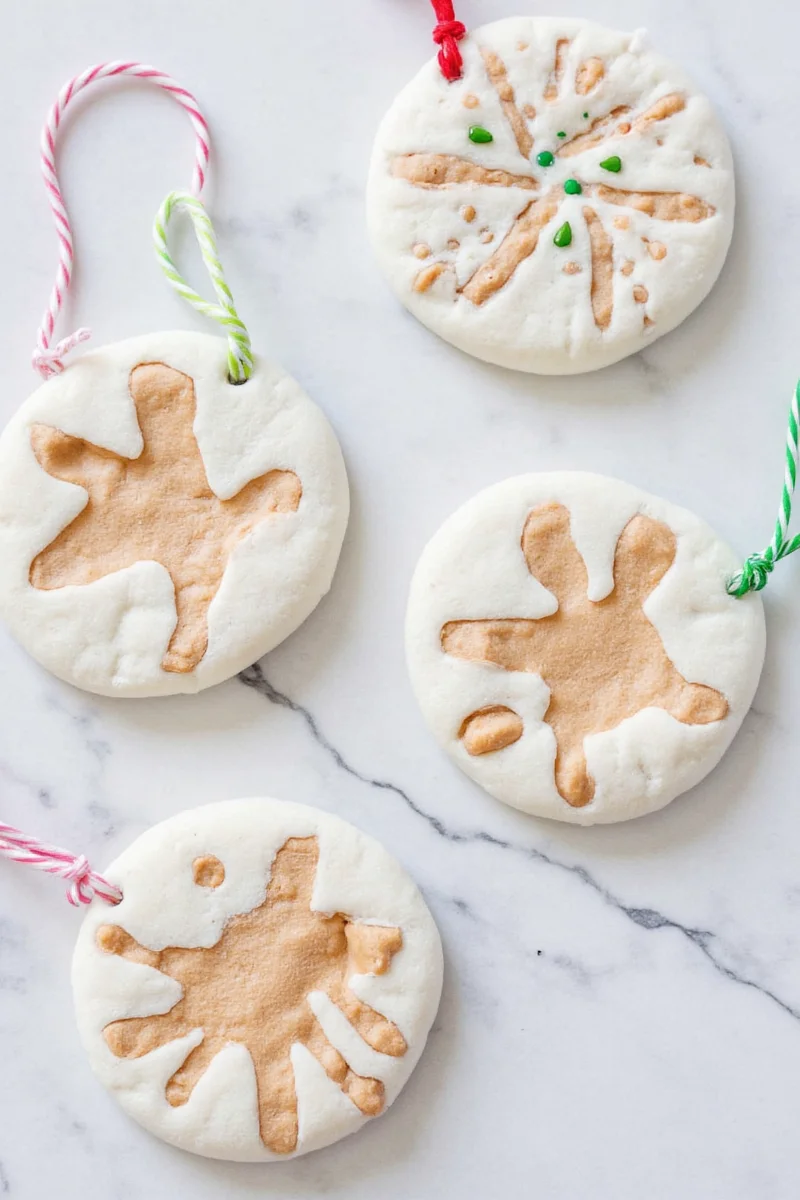
- Get Creative with Shapes: Use holiday-themed cookie cutters like stars, trees, or snowflakes.
- Prep the Surface: Lightly flour your work surface to prevent sticking.
- Make Holes Before Drying: Poke a small hole near the top before baking so you can easily add ribbon later.
- Bake at Low Heat: Dry your ornaments at 200°F (95°C) for about 2–3 hours or until fully hardened.
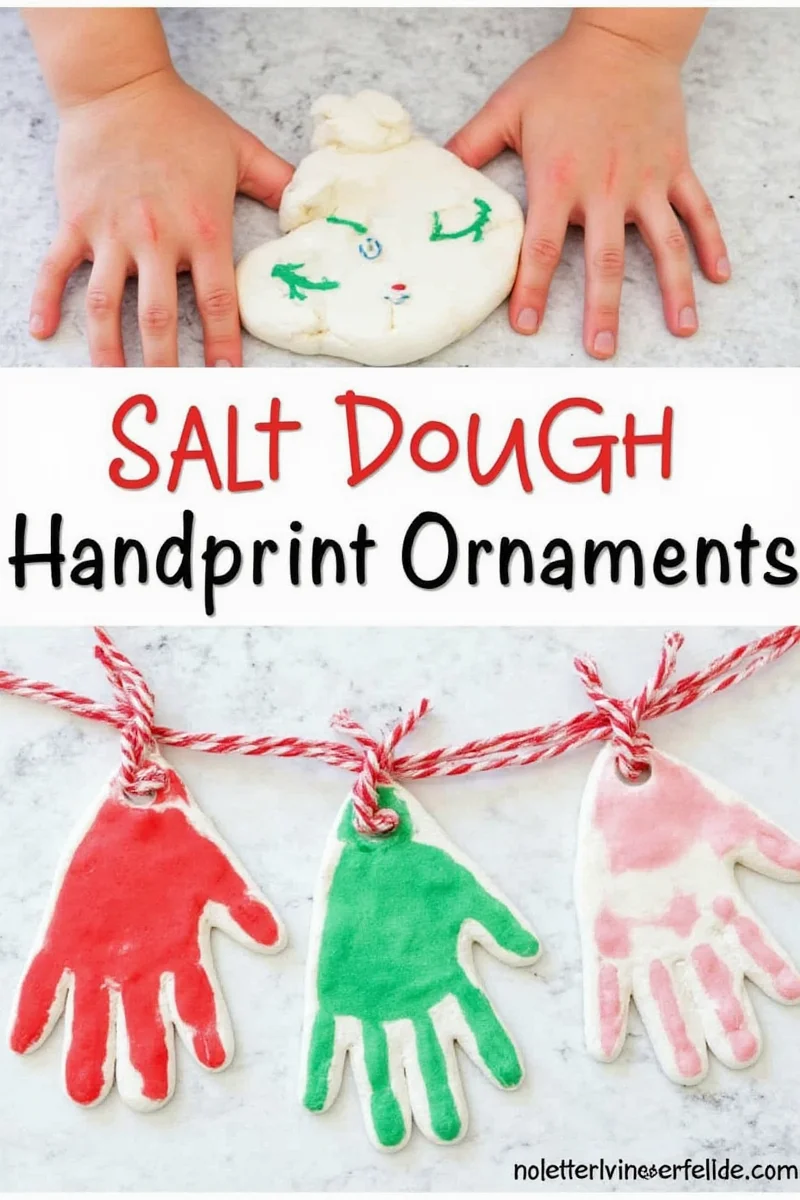
- Let Kids Lead: Let them press their hands and decorate however they like—it’s all part of the charm.
- Use Washable Paints: Especially important if working with little ones who might get messy!
- Add Names & Dates: Label each ornament with the child’s name and year for future nostalgia.
- Seal for Longevity: Apply a clear acrylic sealer to protect the paint and extend the life of the ornament.
- Store Smartly: Wrap each ornament in tissue paper and store in a sturdy box to avoid cracks.
How to Personalize Your Ornaments
What makes these ornaments extra special is how personal they are. Here are some fun ways to customize your creations:
- Use glitter glue to outline handprints for sparkle.
- Stamp names or dates with edible ink pens.
- Create a “family tree” by including prints from every member.
- Add felt backing for a softer look.
- Use natural elements like dried berries or cinnamon sticks as embellishments.
| Personalization Idea | Description | Best For |
|---|---|---|
| Glitter Accents | Add sparkle around handprints using glitter glue. | Kids aged 3–6 |
| Felt Backing | Stick felt behind the ornament for texture and contrast. | Toddlers and parents |
| Natural Embellishments | Attach small pine cones or red beads for festive flair. | Outdoor-loving families |
Creative Display Ideas for Your Family Creations
Once you’ve made your ornaments, why not display them creatively around your home?
- Hang them on your tree with personalized tags.
- Create a memory garland and drape it across mantles or windows.
- Frame a few favorites as wall art in a holiday gallery corner.
- Use them as place cards at your holiday dinner table.
- Turn them into gift tags for homemade presents.
Buying Guide: What to Look for in Ready-Made Kits
If you’d rather skip the prep and dive straight into creativity, pre-made kits are a great option. Here’s what to consider when choosing one:
Key Features to Look For:
- Age Appropriateness: Choose kits designed for your child’s age range—some come with easier tools for tiny hands.
- All-in-One Packages: Ensure the kit includes everything needed—dough, shaping tools, paints, brushes, and ribbon.
- Non-Toxic Materials: Safety first! Always check for FDA-approved or non-toxic certifications.
- Storage Options: Some kits include decorative boxes or frames for storing finished pieces.
- Customization Tools: Look for kits with stencils, stamps, or stickers to make decorating easier and more fun.
Recommended Kits
| Product Name | Features | Price Range | Best For |
|---|---|---|---|
| KidsCraft DIY Salt Dough Kit | Includes mold shapes, paint set, and ribbon; ages 3+ | $15–$20 | Beginner crafters |
| HappyHands Premium Ornament Set | Comes with frame box, metallic paints, and date stamps | $25–$30 | Families wanting premium finish |
| FestiveMakers All-in-One Bundle | Includes 12 handprint molds, 5 paint colors, and glitter | $35–$40 | Larger families or classrooms |
Final Thoughts: Creating Memories That Last
There’s something deeply magical about seeing your child’s tiny handprint transformed into a lasting keepsake. Salt dough handprint Christmas ornaments are more than just decorations—they’re love frozen in time. Each year, when you unpack the box and hang them on the tree, you’ll smile knowing you created something truly unique together.
This holiday season, grab some dough, roll up your sleeves, and get ready for a messier—but oh-so-worthwhile—adventure in handmade joy.


 浙公网安备
33010002000092号
浙公网安备
33010002000092号 浙B2-20120091-4