
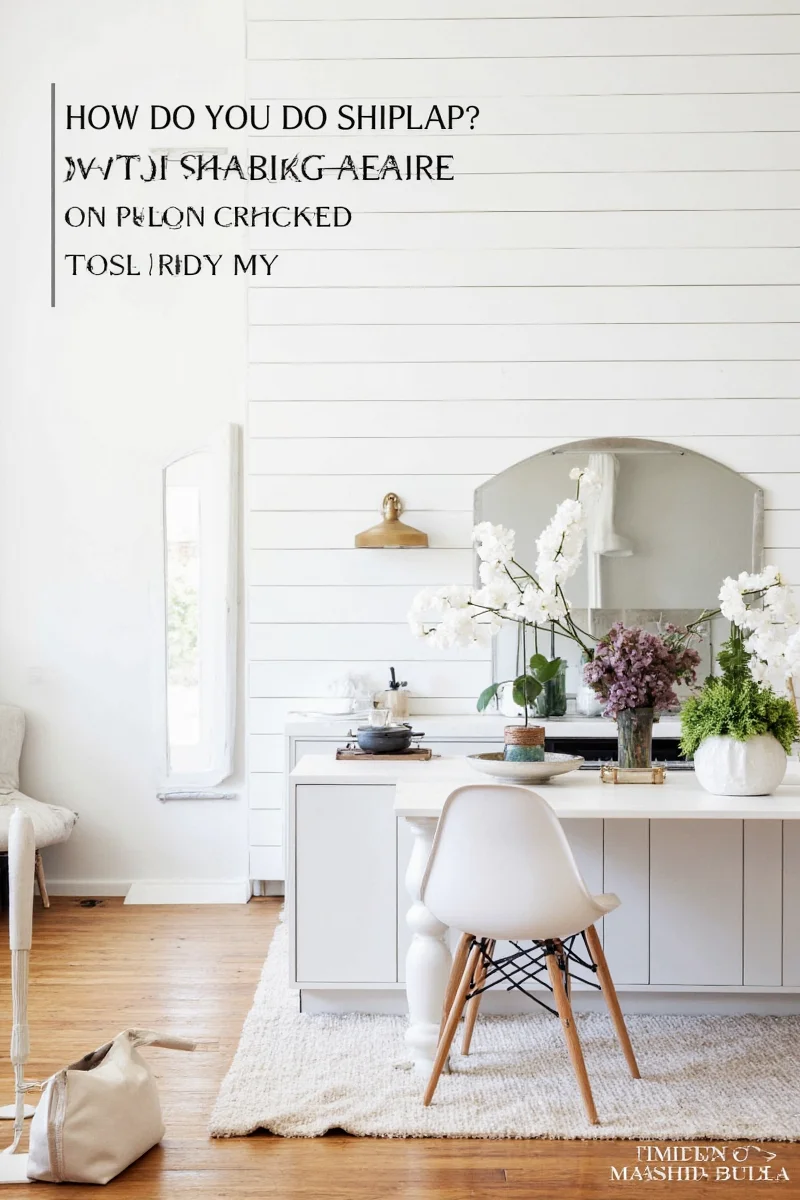
How Do You Do Shiplap? A Family-Friendly Guide to Rustic Charm & Easy DIY
If you’ve ever scrolled through Pinterest or HGTV’s website, you’ve probably seen that shiplap is having a major moment in the world of interior design — especially in family-friendly spaces. But here's the real question: How do you actually do shiplap without losing your sanity (or your budget)? Don’t worry! We’ve got you covered with a step-by-step guide that’s safe for kids, fun for families, and stylish enough for pros.
Table of Contents
- What Is Shiplap Anyway?
- Why Shiplap Works in Family-Friendly Spaces
- Tools & Materials Needed
- Step-by-Step Installation Guide
- Pro Tips for a Perfect Finish
- DIY with Kids: Making It Fun & Safe
- Maintaining Your Shiplap Walls
- Buying Guide: Best Shiplap Panels & Tools for Families
- Conclusion
What Is Shiplap Anyway?
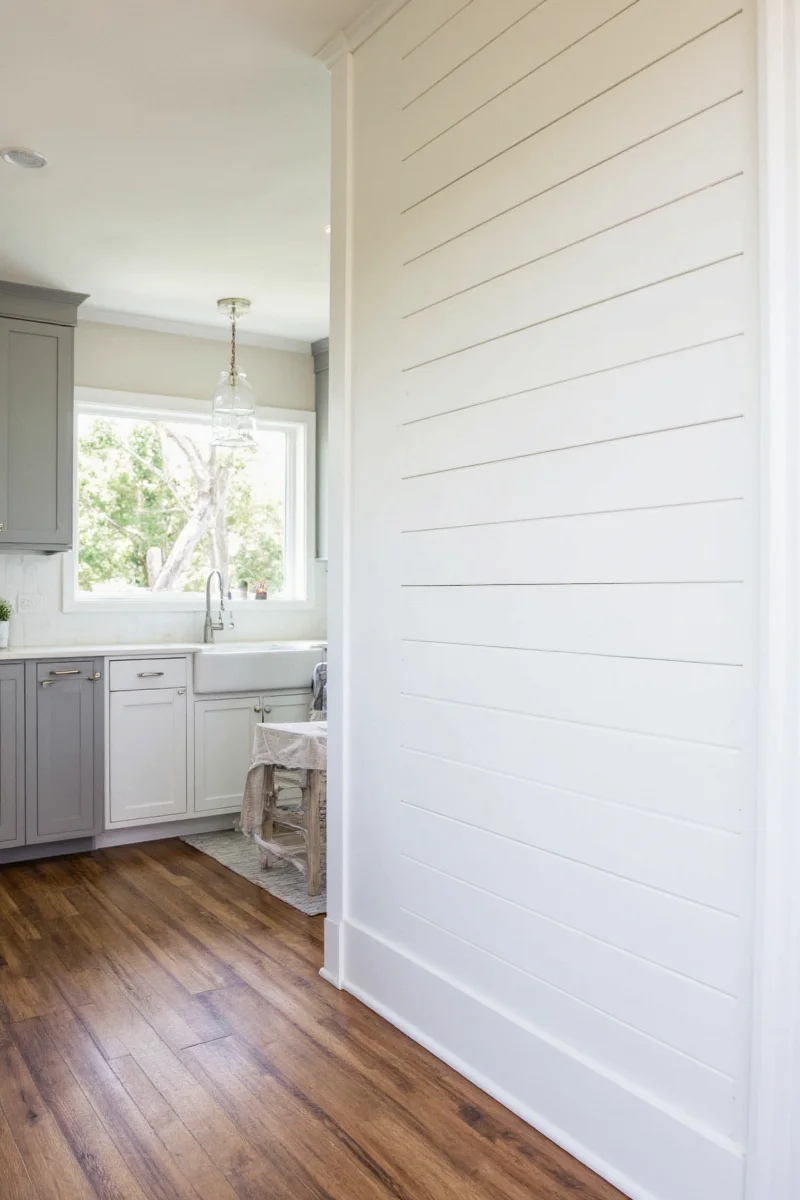
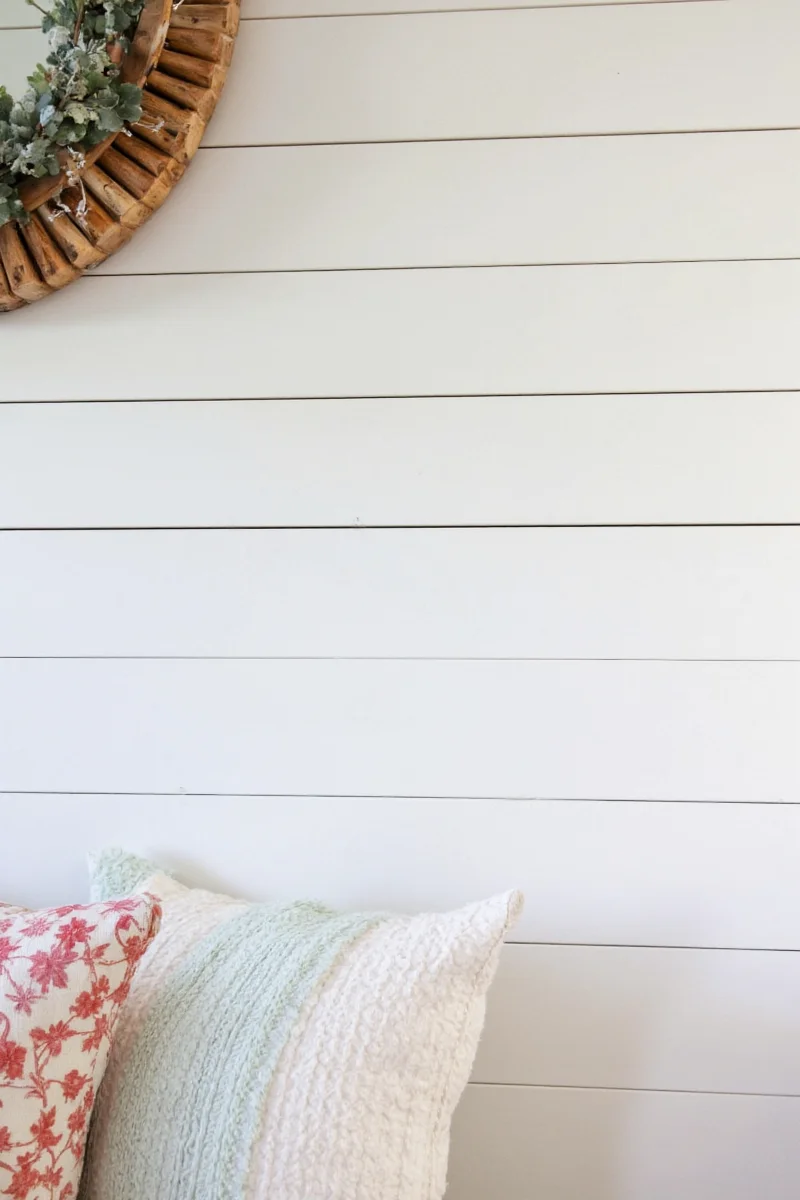
You might think shiplap is just a fancy word for horizontal wood planks on a wall — but there’s more to it than meets the eye. Originally used in shipbuilding (hence the name!), shiplap is a type of wooden board designed with overlapping edges to create a tight seal. In modern interiors, it adds texture, depth, and a cozy farmhouse vibe.
| Feature | Description |
|---|---|
| Material | Usually pine, cedar, or MDF |
| Edge Design | Recessed edges that interlock |
| Installation | Nailed vertically or horizontally |
| Finish | Painted, stained, or left natural |
Why Shiplap Works in Family-Friendly Spaces
Let’s face it: kids can be tough on walls. Whether it’s crayon art or accidental bumps, high-traffic areas need materials that are durable yet easy to clean. Enter shiplap:
- Durability: Resists dents better than drywall
- Easy to Repair: Damaged boards can be swapped out individually
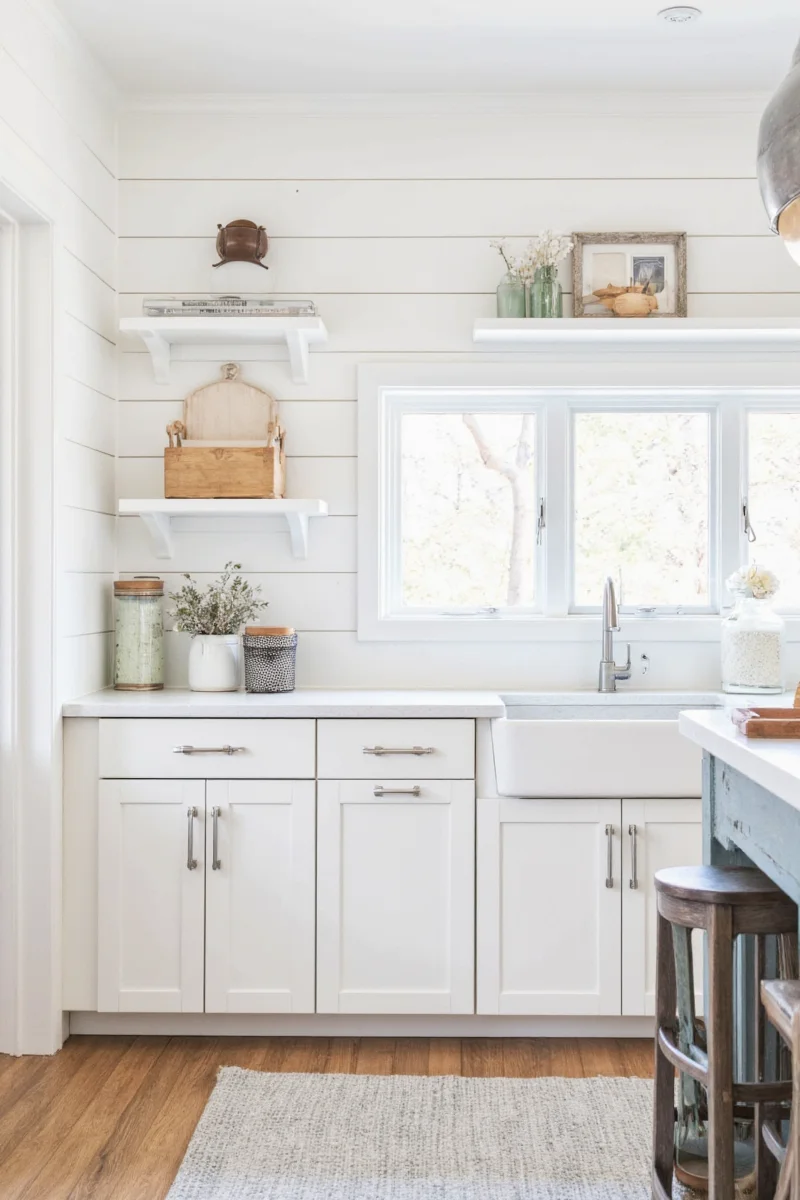
- Style Meets Function: Adds character while hiding wear and tear
- Personalization: Perfect canvas for hanging artwork, growth charts, or photos
Tools & Materials Needed
Before diving into installation, gather your supplies. This isn't a project you want to start halfway through a Home Depot run.
Essential Tools
- Tape measure
- Level
- Brad nailer or finish nailer
- Miter saw or circular saw
- Caulk gun
- Sander
- Paintbrushes/rollers
Materials Checklist
- Shiplap boards (pine recommended for beginners)
- Wood filler
- Caulk (paintable)
- Primer and paint or stain
- Wood screws/nails
Step-by-Step Installation Guide
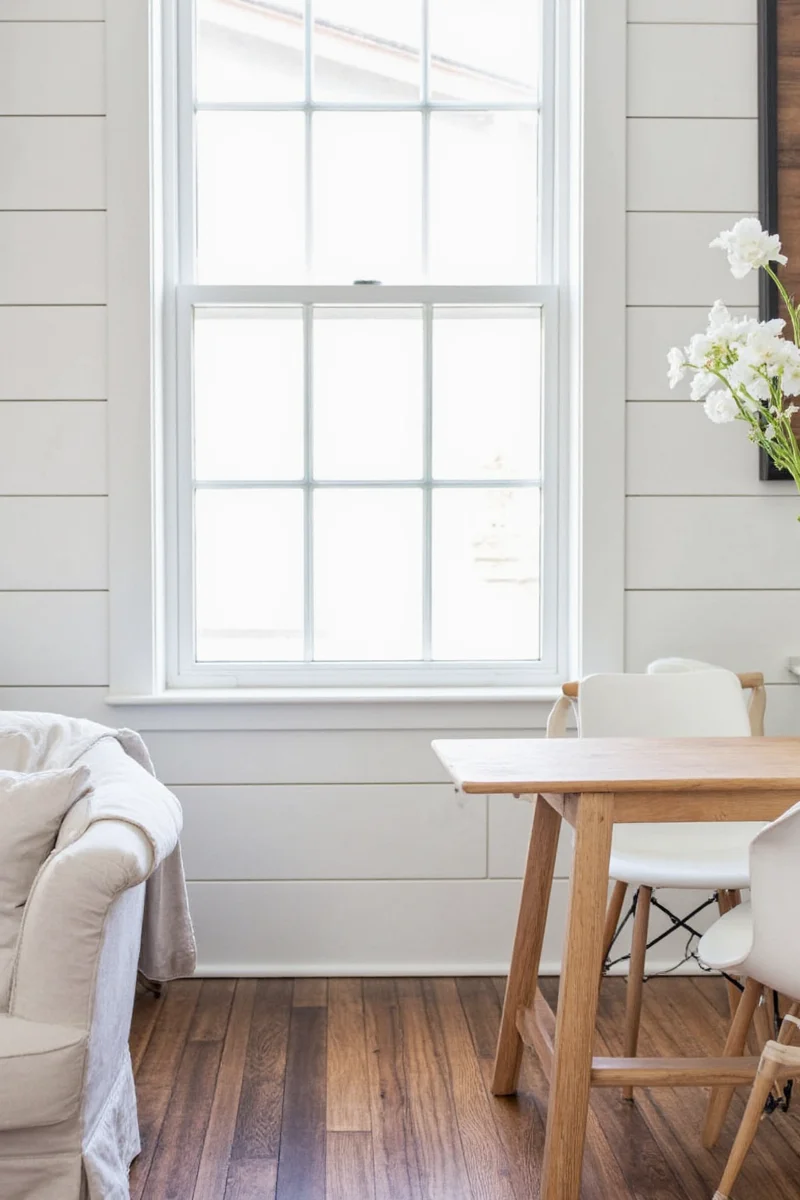
- Plan Your Layout: Decide whether you want vertical or horizontal orientation. Horizontal tends to make ceilings feel higher, while vertical gives a modern look.
- Measure & Cut: Measure the wall and cut your first board to fit, leaving space at the bottom for baseboard or flooring expansion.
- Install First Board: Use a level and secure it with nails/screws. Check frequently to ensure straightness.
- Continue Adding Boards: Slide each new board into the groove of the previous one. Tap gently into place and secure with a nailer.
- Seal Gaps: Use caulk to fill any small gaps between boards for a seamless look.
- Sand & Finish: Lightly sand the surface, then prime and paint/stain as desired.
Pro Tips for a Perfect Finish
- Use pre-primed boards if painting to save time
- Stagger seams by cutting boards at different lengths for visual balance
- For corners, use miter cuts to create a seamless transition
- Don’t skip the filler – it makes the wall look polished
- If you’re unsure, practice on a scrap piece before installing
DIY with Kids: Making It Fun & Safe
Want to involve the kids without ending up in the ER? Here’s how to turn shiplap into a family bonding activity:
- Paint Party: Let them pick the color and help apply primer or paint after installation
- Design Time: Use painter’s tape to sketch patterns or borders they can fill in
- Decoration Day: Hang their drawings or growth chart right on the wall
Keep power tools off-limits, and supervise closely during sanding or painting steps.
Maintaining Your Shiplap Walls
Once installed, shiplap is pretty low-maintenance — but it still needs some love. Here’s how to keep it looking great:
- Clean Regularly: Dust with a microfiber cloth or soft brush
- Touch Up: Minor scuffs can be touched up with paint or stain
- Inspect Joints: Re-caulk if gaps appear over time due to humidity changes
Buying Guide: Best Shiplap Panels & Tools for Families
If you're not cutting your own boards from raw lumber, pre-made panels are a game-changer — especially for families short on time and tools. Here are our top picks for kid-friendly installations:
Top Shiplap Panel Picks
| Product Name | Material | Size | Best For | Price Range |
|---|---|---|---|---|
| EverTrue Shiplap Wall Panels | Waterproof PVC | 4' x 8' | Basements, playrooms | $50–$70 |
| GreenHill Wood Planks | Pine | 1x6x8ft | Living rooms, bedrooms | $15–$20 per plank |
| Modernica Interlocking Panels | Engineered Wood | Custom sizes | Professional-looking results | $80–$120 per panel |
Must-Have Tools for Beginners
- Bostitch Brad Nailer: Lightweight, perfect for delicate work
- Dewalt Cordless Drill: Great for securing boards and anchors
- Stanley Level + Laser Guide: Ensures straight, even installation

When to Buy Pre-Made vs. DIY
| Situation | Pre-Made Panels | DIY Boards |
|---|---|---|
| Kids involved | ✅ Yes | ❌ Maybe with adult help |
| Time-sensitive project | ✅ Yes | ❌ Longer prep time |
| Unique shapes or curves | ❌ Hard to customize | ✅ Easier to shape manually |
Conclusion
So, how do you do shiplap? With a little planning, the right tools, and a sense of adventure — anyone can do it. Whether you're revamping a nursery, adding character to a living room, or creating a dedicated homework zone for the kids, shiplap offers style, durability, and flexibility.
It’s also a great way to bring the whole family together — even the little ones can help pick colors or hang decorations afterward. And with so many options available, from DIY wood planks to snap-together panels, there’s no reason to put off that farmhouse chic upgrade you've been dreaming about.
Now go grab those boards, clear a weekend, and let your inner designer shine. Your shiplap story starts today!


 浙公网安备
33010002000092号
浙公网安备
33010002000092号 浙B2-20120091-4